
Little miss Adalyn turned two in May. I just can't believe that we are here already. This birthday party was so much different from her first - she was way more into the party, the games, the presents, and definitely the cake and ice cream. For the week before the party, if you asked her what she wanted for her birthday, all she would answer was cake and ice cream. She clearly is my daughter after all!
And since her latest obsession has been with Elmo and Sesame Street, we went with that as a theme for her party. I found this fantastic blog post from Annie's Eats and got to work using her ideas.
.jpg)
Matt found this Cookie Monster cake pan in his parents' basement from when he and his sister were kids. I was soooo nervous about making the cake, but it really didn't end up being that hard, and I thought it looked great.
.jpg)
I did a little timeline of Addy from her three month pictures to her most recent two year shots. Ah how time flies...
.jpg)
Straight from the blog post, we snacked on goldfish from Dorothy. Above this table I hung printed pictures of each of the main Sesame Street characters from the chandelier along with an "Adalyn Street" street sign. I made all the signs and decorations and just printed them out at home, backing them with bright colored card stock that I had from my scrapbooking days.
.jpg)
Instead of buying more expensive (and more flimsy) Sesame Street themed ones, I hot glued some eyes and noses on red plates.
.jpg)
And of course C is for Cookie. The lunchbox was actually mine from preschool!
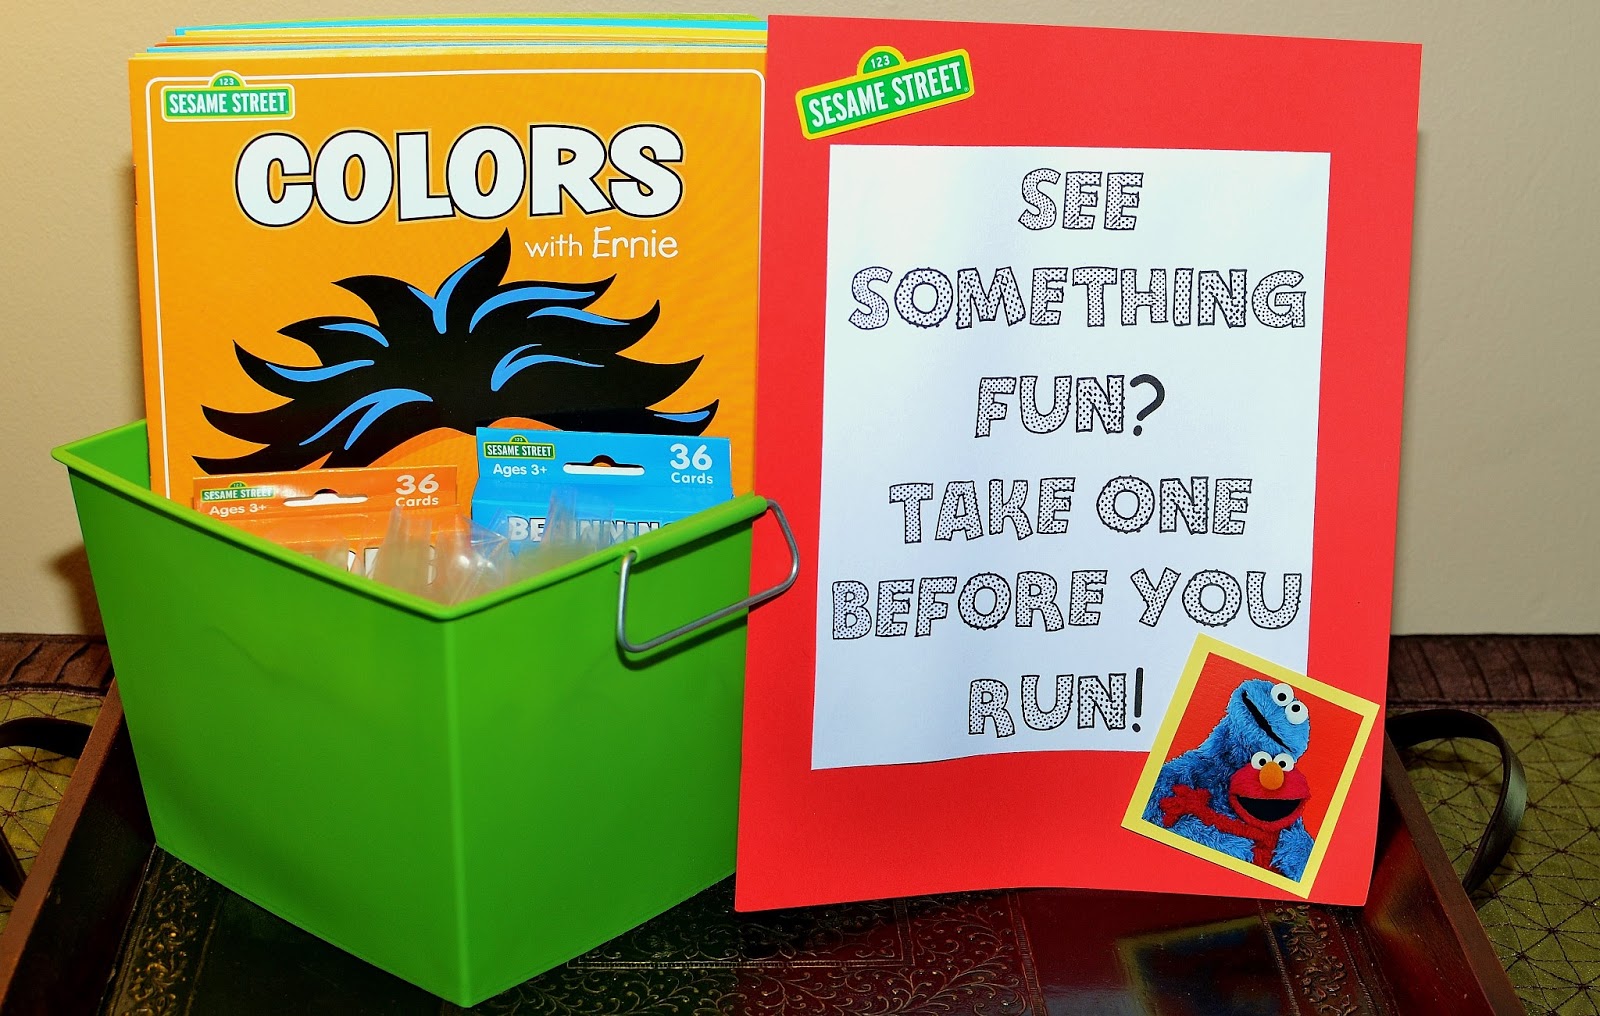
I lucked out and found awesome Sesame Street activity books and flashcards at the dollar store to give as favors (See Something Fun? Take One Before You Run!). To save a few bucks, I separated a bigger pack of the good washable Crayola crayons into baggies with four crayons each. I figured if it were me, I'd rather my kid get a few good crayons rather than a whole pack of cheap ones that might stain her clothes.
.jpg)
And little miss enjoying that cake! The dollar store banner in the background had balloons in the middle originally, but I cut that Elmo head off the box of cereal that we had in the cupboard and glued it over the balloons. Voila, Elmo banner.
.jpg)
We had stations set up outside for the kids to play - Golf with Grover (found a cheap set of platic golf clubs at Marcs for $3), Trash Toss with Oscar (a small borrowed trashcan and a pile of crumpled up newspaper to toss in), and Bubbles with Big Bird, which was Addy's favorite. I also did a Count with the Count board like she had in the post as well.
Overall, it was a great success and I was so happy that I took the time to do the Sesame Street stuff. Addy really enjoyed it and I think all the kids had a good time.


